A buyer sends a JPG image of an intricate snowflake design and asks for 10,000 pieces by October. The design has 0.8mm bridges between cutout areas. On screen, it looks perfect. In production, those bridges will break during handling, painting, and packing. The design needs modification before it can be manufactured at scale — but the buyer didn't know that.
This scenario is common in laser-cut wood production. The gap between what looks good on screen and what works in bulk manufacturing is where most problems happen. This guide covers the technical details buyers should understand before ordering custom laser-cut wood products.
Design Files and Cutting Limits
Accepted File Formats
Laser cutting requires vector files — mathematical paths the laser follows, not pixel-based images. The best formats:
- AI / EPS — Adobe Illustrator. Use layers to separate cut lines from engraving areas. Set stroke width to 0.01mm for cut lines.
- PDF — vector PDF works well. Verify that lines are vector paths, not embedded raster images.
- SVG — Scalable Vector Graphics from Inkscape, Figma, or Canva exports.
- DXF / DWG — AutoCAD formats for technical drawings and architectural models.
If you only have a JPG or PNG, send it anyway. Most manufacturers can convert raster images to vector files for a small design fee.
Design Best Practices
- Close all paths — open paths cause incomplete cuts or the laser to skip.
- Remove overlapping lines — duplicate paths cause wider kerf and more charring.
- Scale to actual size — set file dimensions to the real-world size you want.
- Separate layers for cut lines and engraving areas so the operator can set different power levels.
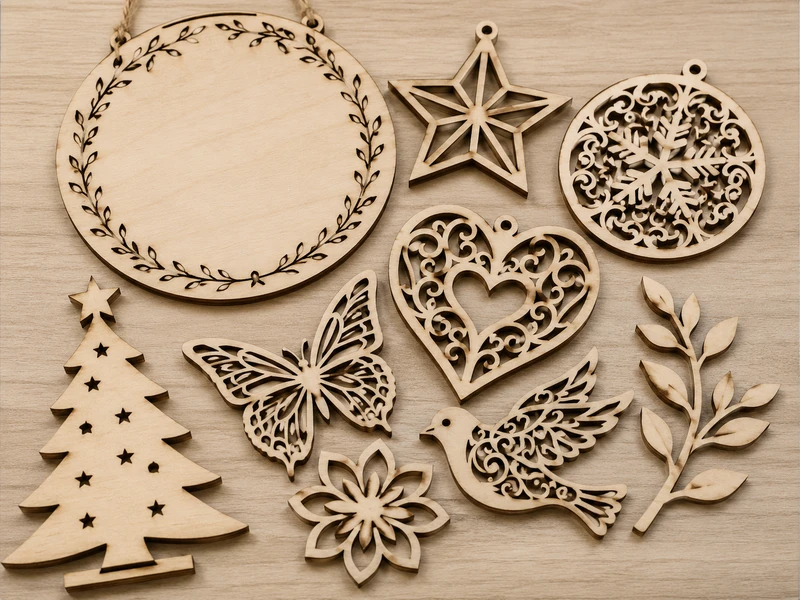
Practical Example: Thin Decorative Parts Breaking
A home decor brand ordered 3,000 laser-cut wooden ornaments with 1.2mm bridges between cutout areas. During sample testing, 30% of the pieces had broken bridges after packing and unpacking. The solution: increase bridge width to 2mm and add a small radius at stress points. The revised design had zero breakage in the full production run. This kind of issue is caught during sampling — not after 3,000 pieces are cut.
Material Thickness and Selection
Thickness Options
- 2-3mm — thin ornaments, gift tags, keychains. Lightweight, fast to cut, lowest cost per piece.
- 4-6mm — standard for most ornaments, signs, puzzles, and wall art. Good balance of strength and cost.
- 8-10mm — thicker signs, structural components, 3D model kits. Slower cutting, higher cost.
- 12-20mm — heavy-duty signs, furniture components, architectural models. Requires multiple passes.
Material Comparison
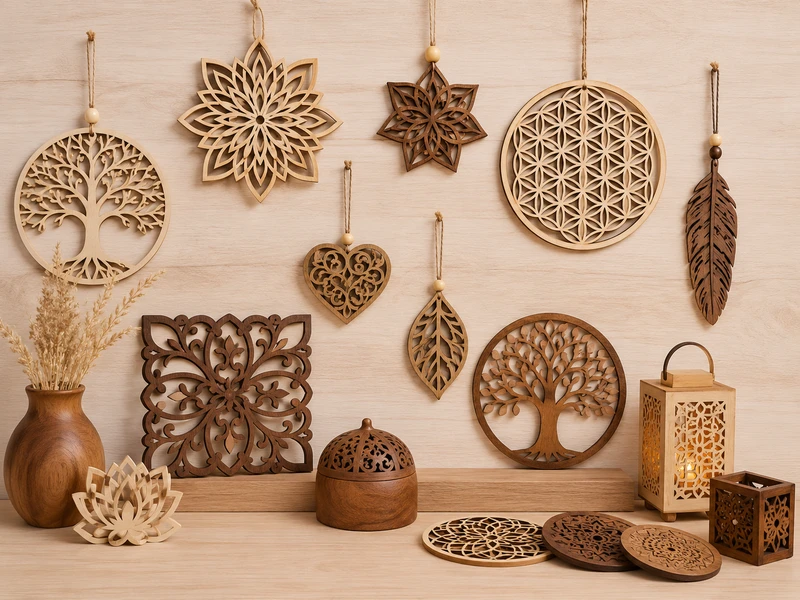
- Birch — cleanest cuts, minimal charring, consistent grain. The top choice for precision work and painted products.
- Pine — more visible burn marks along edges. Gives a rustic, natural look. Affordable for large runs.
- MDF — uniform density, no grain. Cuts very cleanly. Best for painted products where wood grain is not desired.
- Bamboo — sustainable, strong, clean cuts. Distinctive natural appearance with visible fiber pattern.
- Plywood — strong and lightweight. Good for larger pieces. Visible layer edges on the cut face.
Engraving Depth and Detail
Surface engraving (0.5-1mm) is subtle and lower cost — best for logos, text, and fine patterns. Deep engraving (1-3mm) creates a visible 3D effect but takes longer and costs more. Engraving text should be at least 2mm tall for readability. Very small text under 1.5mm may not engrave cleanly, especially on softer woods like pine.
Edge Quality and Burn Marks
Laser cutting uses focused heat to vaporize wood. This naturally creates dark edges, slight taper, and light smoke residue. These are features of the process, not defects. For a cleaner look: sand edges after cutting, paint over cut lines, use birch (minimal charring) instead of pine (more charring), or apply a finish coat that seals the edge.
Fragile Details and Design Reinforcement
Intricate designs need careful engineering. Minimum bridge width is 2mm for structural elements and 1.5mm for decorative elements that won't be handled. Sharp internal corners create stress points — add a small radius (0.5mm) to improve strength. Orient thin bridges parallel to the wood grain when possible — wood is stronger along the grain than across it.
Have a laser-cut design ready? Send us your AI, PDF, DXF, SVG, or CAD file, material thickness, size, engraving requirement, quantity, and finish preference. We will review your file for cuttability and provide a detailed quote within 24 hours.
Send Your Design FileSample Testing
Always test a sample before committing to a large order. Evaluate:
- Cut quality — are edges clean and consistent across the piece?
- Dimensional accuracy — measure critical dimensions against your specifications.
- Engraving quality — is the depth and detail what you expected?
- Fragile areas — handle the piece 10-20 times. Do thin bridges hold up?
- Packaging test — pack and unpack the sample 3 times. Does it survive?
Sample lead time is 5-7 working days. Sample cost is $30-100 depending on complexity, usually refunded against your first production order.
FAQ
What file format should I send?
Vector files are best: AI, PDF, SVG, or DXF. If you only have a JPG or PNG, send it — we can convert it to a cut-ready vector file for a small design fee. For complex designs, provide a layered file separating cut lines from engraving areas.
Can you engrave photographs or complex artwork?
Yes. We convert photos to grayscale engravable images. Best results come from high-resolution source images (300+ DPI). We provide a test engrave for approval before production. Simple line art engraves cleaner than photographic images.
How do you ensure edge quality across a large order?
We calibrate laser power and speed for each material before production and maintain consistent settings throughout the run. Every batch is inspected for edge consistency, dimensional accuracy, and engraving depth. We use the same laser settings and focus distance across the entire order.
What's the minimum order quantity?
Standard MOQ is 500 pieces. We accept smaller runs for prototypes and samples — as low as 50 pieces for testing. Pricing improves significantly at 1,000+ pieces.
Can you combine laser cutting with other processes?
Yes. We often combine laser cutting with painting, screen printing, UV printing, hand assembly, and packaging. Tell us what you need and we will recommend the best combination of processes.
Related Resources
Explore our laser-cut wood products page, visit our capabilities page, or read our guides on choosing a wooden box manufacturer and preparing for OEM manufacturing.